Product Support
Spyware Striker User Guide
Follow the steps below to protect your PC with Spyware Striker Pro.
The setup can begin once the program has been downloaded and installed onto your PC.
1. Open Spyware Striker
Double click the Spyware Striker icon on your desktop
![]()
[ Or ] Select Spyware Striker from your Programs folder —
Go to Start Menu > All Programs > Ascentive > Spyware Striker
![]()
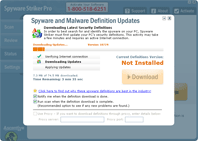
2. Download Definitions
Click the Download button to download risk definitions. It may take a few minutes. This activity requires an active Internet connection.
Click the Continue button once the Downloading is complete.
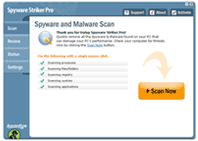
3. Thank you for trying Spyware Striker Pro!
Click the Scan Now button.
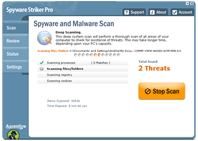
Spyware Striker will do a thorough scan of your computer as it searches for spyware, malware, and adware. This process should take a few minutes.
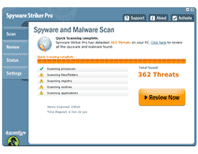
4. Scanning completed
If Spyware Striker Pro has found threats on your PC, click the Review Now button.
5. Review Threats
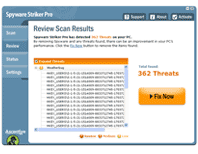
Spyware Striker Pro will show you the threats found on your PC. By removing Spyware and any threats found, there can be an improvement in your PC's performance. Removing tracking cookies stops websites from recording your surfing history.
Click the Fix Now! button to repair your PC.
6. Login
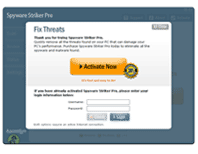
After clicking on the Fix Now! button, you will be prompted to enter your login information or to Activate Now!
First Time Users who have never
logged in: A registration reminder will pop-up in a new window. To fix these threats now, you will need to sign up for a Spyware Striker Pro account.
Active Customers: Enter your login information using the Username and Password you created when making your purchase.
* Logins are case-sensitive and must be entered exactly as it was created.
Important: An internet connection is required to verify account information and to get rid of spyware found on your PC.
7. Fix Threats
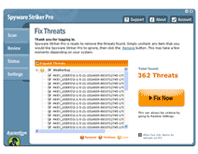
After logging in with a valid account, the screen will display the threats found that are ready to be removed. If you don't want to remove any specific file, you can uncheck the box to the left of the threat.
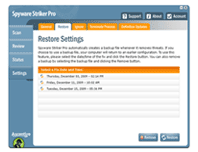
Note: Please see the Settings option and click on the restore tab for more information about the Restore feature.
Click the Fix Now button to start repair.
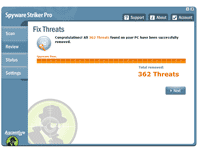
8. Spyware on your PC removed successfully.
Spyware Striker Pro removed all the hidden programs found that can damage your PC performance, Internet Speed, and system security. Click Next.
9. Restore Settings
Spyware Striker Pro automatically creates a backup file whenever it removes errors. To restore your computer to an earlier version please select the date/time of the fix and click the restore button.
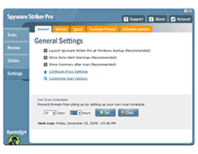
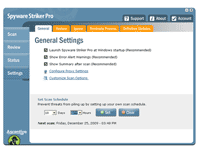
10. Set Scan Schedule (Optional)
Click the General Settings button in the top menu to Set Scan Schedule.
After you set your schedule, click the Set button.
Click the Clear Schedule button if you’d prefer to manually scan your PC.
11. Start Spyware Striker Pro with Windows (Optional)
If you would like Spyware Striker Pro to launch at Windows startup, click the Options button in the top menu and make sure that Start Spyware Striker Pro with Windows (Recommended) is checked. This option is pre-checked by default.
Uncheck the box if you don't want Spyware Striker Pro to launch with Windows startup.

